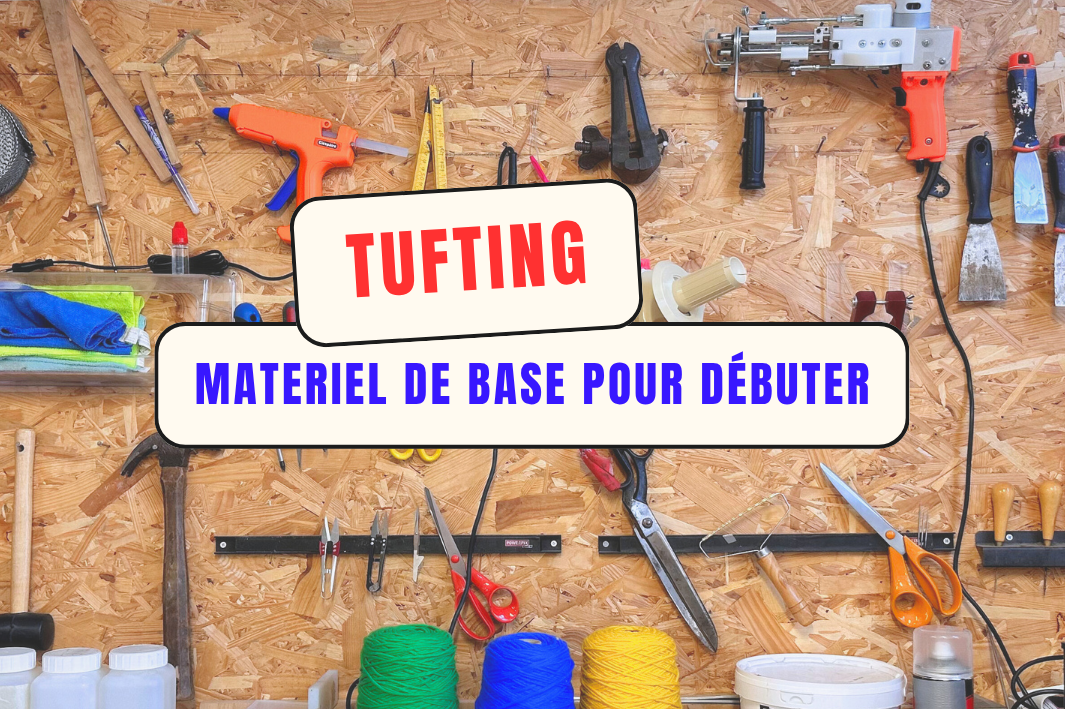
For starters, if you're not yet familiar with tufting, it's an artistic activity that has become popular on social media in recent years. Thanks to an electric machine called a "tufting gun", or more simply "tufting machine" in French, you can create all kinds of shapes on a stretched canvas. From rugs to mirrors to tufted bags, the possibilities are endless. In this article, we will explain to you step by step the process of making a tufted rug.

|
 Monk's web Monk's web |
 Finishing fabric Finishing fabric |
 Tufting mower Tufting mower
|
 |
 Acrylic yarn
STEP 1: Preparing your design on your tufting canvas
After having correctly stretched the canvas on your tufting frame, you must choose and prepare the design you want to create. To do this, you can use a projector to project the design onto the monk canvas. This will allow you to reproduce it clearly and quickly. But be careful, don't forget to flip your image; otherwise, your drawing will be upside down.
Please note: using a projector is not obligatory. You can draw freehand if you prefer. However, there is an advantage to using a projector: it allows you to easily project any visual, drawing or image onto the canvas, which is handy if you don't know how to draw.

|

|
STEP 2: How to choose your tufting thread
Once the first step is complete, you will begin threading your yarn through your tufting gun. To do this, use a needle threader. If you are working with balls, we recommend winding them with a manual winder. Without this preparation, your line may run out of slack. It could then withdraw from your tufting gun. To avoid this frustration, consider winding your line, unless you are using lines on a cone; in this case, no preparation is necessary.
Please note: to choose the size of your thread, you can opt for balls suitable for a needle size of 3.5 or 4. However, in this case, you will have to double your thread, i.e. use two wires at the same time. We advise you to buy thicker threads instead. This way, you won't need to double, and you will get the same result in terms of density on your carpet.
STEP 3: Ready, Go, Tuft!
You are now ready to start tufting. Handling the tufting gun may seem confusing at first. Each tufting machine is equipped with a speed regulator. For optimal use and to avoid damaging your monk canvas, we recommend that you always use your tufting gun at minimum speed.
When using your tufting gun, hold it with both hands. One hand grips the handle, while the other holds the handle, particularly the trigger. Work with the tufting gun must always be done in a single direction. Advance your tufting gun steadily. Movements can be from bottom to top, but never from top to bottom. Apply strong pressure to the tufting gun needle. This will ensure that the machine foot is firmly pressed against the canvas. If the pressure decreases, the thread may not be inserted correctly, which could damage the canvas by creating holes.

STEP 4: Finishing the Carpet - Glue the Back of your Carpet
After you have finished tufting your design, it is essential to apply glue to the back of your rug to seal the threads and prevent them from coming loose. Use a glue specially designed for carpets. Then leave to dry overnight or for several hours, until the glue is completely dry.

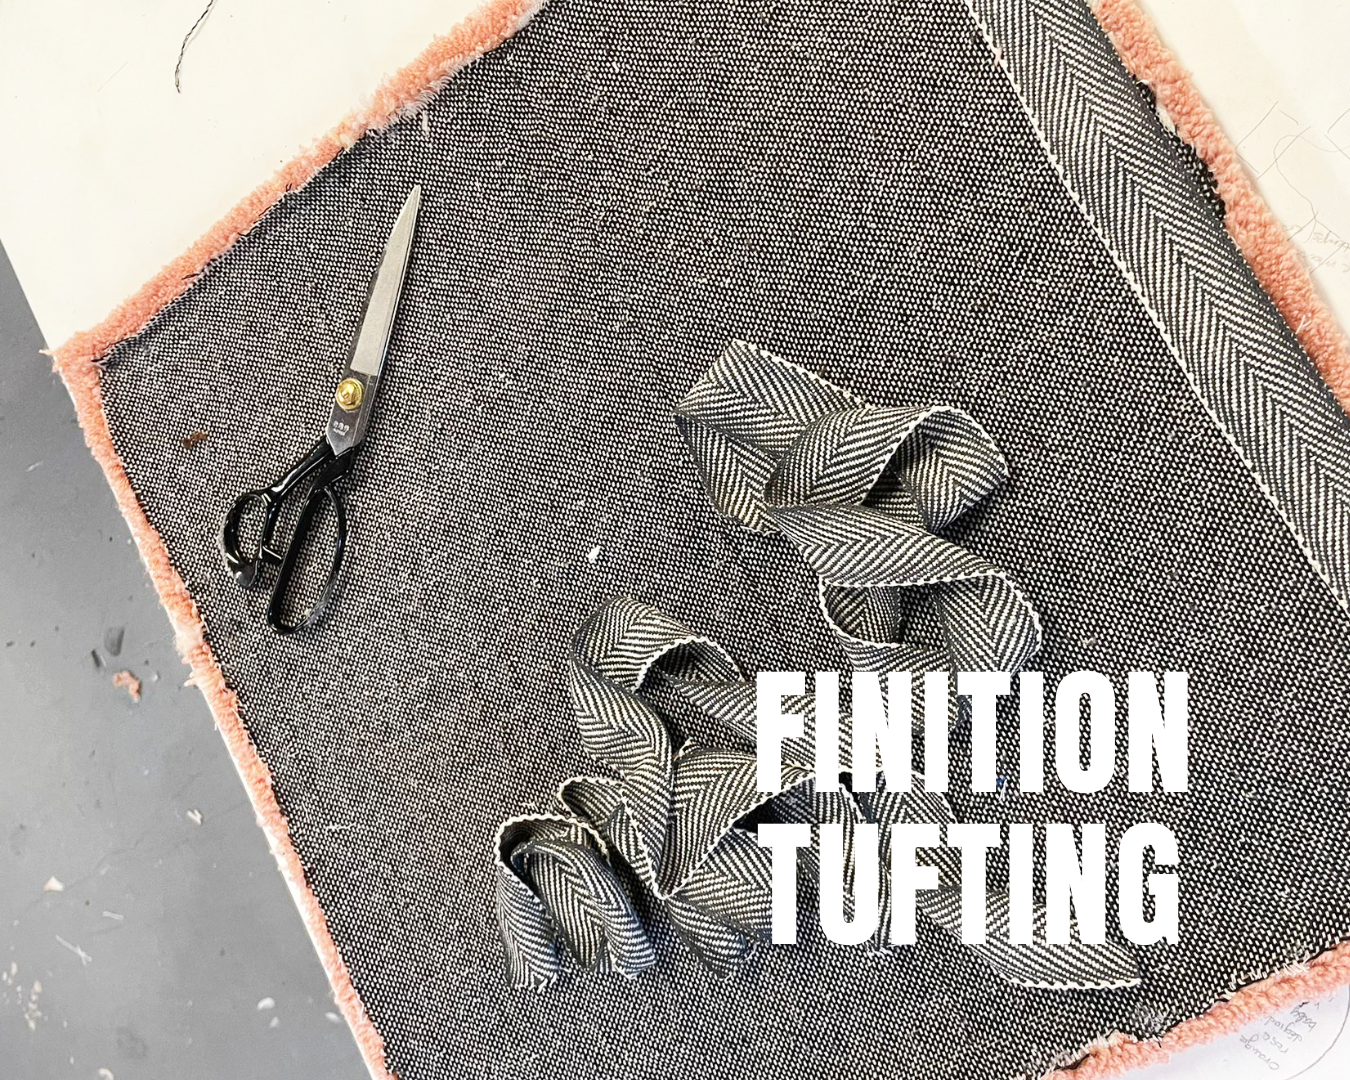
STEP 5: How to roll up the edges of your rug
When the glue has dried, remove the monk cloth from your tufting frame. Then, trim the excess fabric, leaving a margin of around 2 to 3 cm to make it easier to fold the edges of your rug. Cut deeply every 5 cm, and then fix each edge using a glue gun.

|

|
STEP 6: Glue the finishing fabric
You now need to glue your finishing fabric to the back of your rug. Use a permanent spray glue. Regarding the fabric, you can choose a cotton finishing canvas or non-slip fabric. After placing your canvas on the back of your rug, press well over the entire surface. This will ensure good adhesion. Then cut off the excess fabric.

|

|
STEP 7: How to mow your carpet
Your mat is almost ready. Before integrating it into your decoration, you must mow it. This step is important because it allows you to cut, clean and refine the contours of your mat, making your design cleaner and more aesthetically pleasing. To do this, equip yourself with a special tufting clipper and a pair of pelican scissors. This step is satisfying but complex, remember that any skill requires practice and it is natural to make mistakes. So be proud of your creations, whatever the outcome.

|

|
We hope this article was helpful and gave you some insight into how to make a tufted rug. If you have any questions, feel free to ask in the comments below. Happy tufting everyone!