Do you use your tufting gun regularly and have you noticed that your scissors are showing signs of wear? Depending on how you use them, these little tools can become dull, less sharp, or, in extreme cases, break. Don't panic, it's normal! It is even recommended to replace them approximately once a year. Good news, our tufting guns come with spare parts, including a spare pair of scissors.
Replacing scissors is a delicate operation. You have to follow a step-by-step guide precisely to avoid any errors that may disrupt the functioning of your device. Indeed, a little negligence can have big consequences.
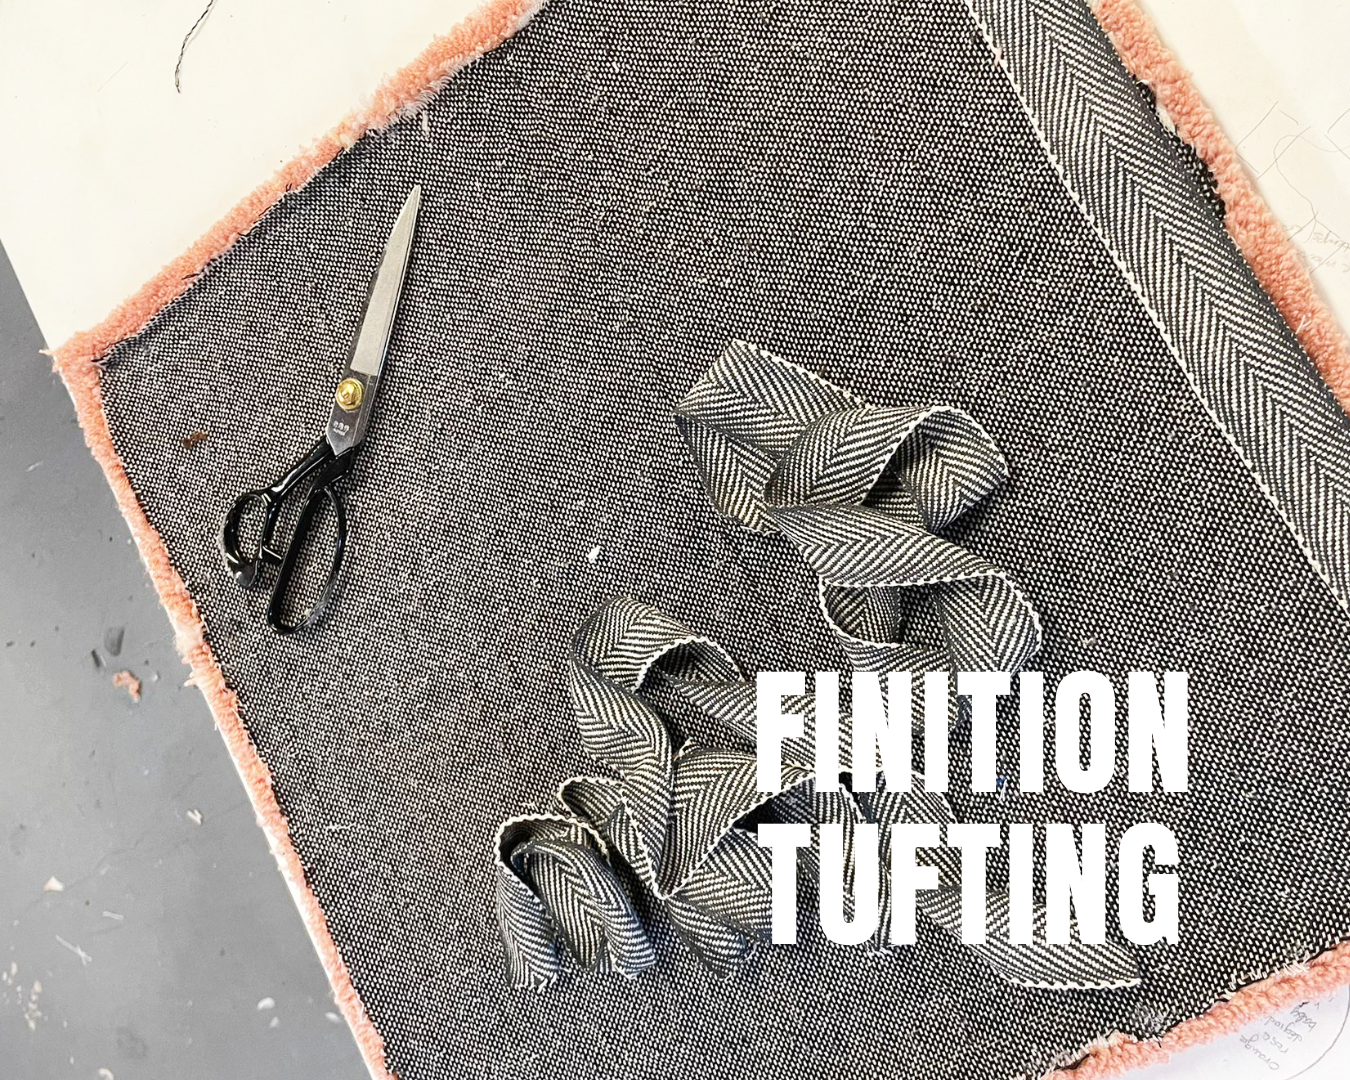
To make it easier for you, we have developed a detailed tutorial, available in video and photos. This guide will allow you to replace your scissors with complete peace of mind and in the best conditions.
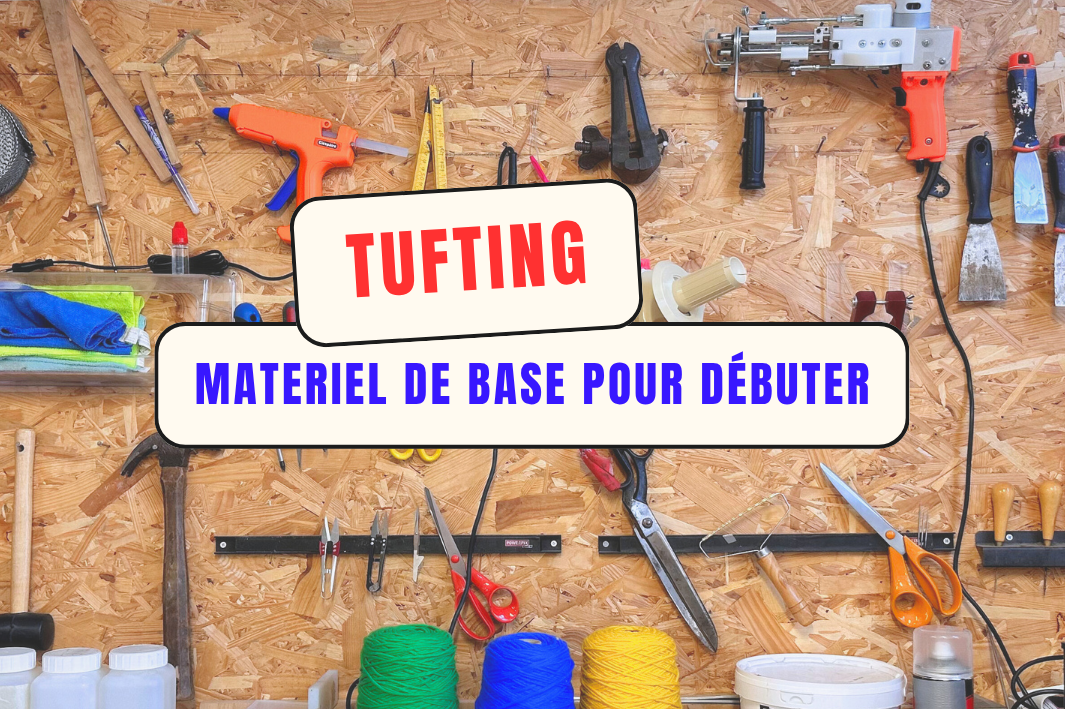
Necessary material
Before you begin, make sure you gather the necessary materials:
- a key of 8
- an Allen key
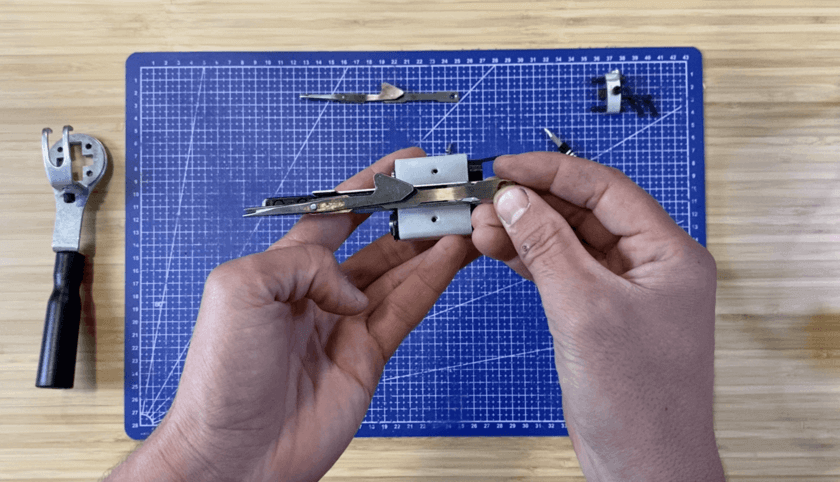
- an ak scissors
- a Phillips screwdriver
Step by step video tutorial
Step 1
We recommend that you turn off and unplug your device to avoid any risk of injury.
Using the Allen key provided in your parts bag, unscrew the four screws located on the front of your device, near the needle. This will allow you to remove the metal block that contains the scissors. Store this block and screws in a safe place.
|
|
|


2nd step
Then remove the metal part that contains the handle of the device by sliding it gently outwards.
 |
 |
Step 3
Turn the device to access the bottom metal rod that connects the gear (the white caster). Use the 8 wrench to unscrew the nut.
 |
 |
Step 4
Remove the metal part containing the scissors by gently sliding it outwards.
 |
 |
Step 5
Use a Phillips screwdriver to unscrew the screw that holds the scissors in place. Replace the scissors and make sure they are oriented correctly, with the curvature facing down (see photo for reference).
 |
 |
 |
 |
Step 6
You must now put the metal part containing the scissors back inside by sliding this block gently towards the inside. We recommend that you carry out this operation with caution, otherwise it could cause your device to malfunction. There should be no resistance when you slide this part inside your device.
 |
 |
Step 7
Reassemble all the parts following the steps in reverse. Make sure all screws are tight.
 |
 |
Step 8
We invite you to place your machine on its edge, which will facilitate the reinsertion of the metal part containing the handle. Next, screw the first two screws into place.
 |
 |
Step 9
Return the block to the correct orientation and secure the last two screws using an Allen key.
 |
 |
Step 10
Make sure all screws are tight. Also do a manual test by turning the gear (the white wheel). If you feel resistance, stop immediately and review the steps to identify the possible problem. Don't forget to check the closure of your scissors before considering the operation successful.
 |
 |
That's it, you've succeeded! Make sure all screws are tight and the scissors are working properly. Do not hesitate to consult this tutorial whenever you need to replace the scissors of your tufting gun.