Um zu beginnen, wenn Sie mit dem Tuften noch nicht vertraut sind, ist es eine künstlerische Aktivität, die in den letzten Jahren in den sozialen Medien populär geworden ist. Mit einer elektrischen Maschine, die als "Tufting-Pistole" oder einfacher als "Tufting-Maschine" bezeichnet wird, können Sie alle Arten von Formen auf einem gespannten Stoff erstellen. Von Teppichen über Spiegel bis hin zu tuftierten Taschen sind die Möglichkeiten endlos. In diesem Artikel werden wir Ihnen Schritt für Schritt den Prozess der Herstellung eines tuftierten Teppichs erklären.
 Mönchsstoff Mönchsstoff |
|
 Futterstoff Futterstoff |
 Tufting-Schneider Tufting-Schneider
|
 |
SCHRITT 1: Vorbereitung Ihrer Zeichnung auf Ihrem Tufting-Stoff
Nachdem Sie den Stoff richtig auf Ihrem Tufting-Rahmen gespannt haben, müssen Sie das Bild auswählen und vorbereiten, das Sie erstellen möchten. Dazu können Sie einen Projektor verwenden, um das Bild auf den Mönchsstoff zu projizieren. So können Sie es klar und schnell reproduzieren. Aber Vorsicht, vergessen Sie nicht, Ihr Bild umzudrehen; sonst wird Ihre Zeichnung auf dem Kopf stehen.
Zu beachten: Die Verwendung eines Projektors ist keine Pflicht. Sie können auch freihändig zeichnen, wenn Sie möchten. Allerdings hat die Verwendung eines Projektors einen Vorteil: Er ermöglicht es, jedes beliebige Bild, Zeichnung oder Foto leicht auf den Stoff zu projizieren, was praktisch ist, wenn Sie nicht zeichnen können.

|

|
SCHRITT 2: Wie wählt man seinen Tufting-Faden aus
Sobald Sie den ersten Schritt abgeschlossen haben, beginnen Sie, Ihren Faden in Ihre Tufting-Pistole einzufädeln. Dazu verwenden Sie einen Nadeleinfädler. Wenn Sie mit Knäueln arbeiten, empfehlen wir, diese mit einer manuellen Spule zu wickeln. Ohne diese Vorbereitung könnte Ihr Faden zu wenig Spiel haben. Er könnte sich dann von Ihrer Tufting-Pistole lösen. Um diese Frustration zu vermeiden, denken Sie daran, Ihren Faden zu wickeln, es sei denn, Sie verwenden Fäden auf einer Rolle; in diesem Fall ist keine Vorbereitung erforderlich.
Zu beachten: Um die Größe Ihres Fadens auszuwählen, können Sie sich für Knäuel entscheiden, die für eine Nadelgröße von 3,5 oder 4 geeignet sind. In diesem Fall müssen Sie jedoch Ihren Faden doppeln, das heißt, zwei Fäden gleichzeitig verwenden. Wir empfehlen Ihnen stattdessen, dickere Fäden zu kaufen. So müssen Sie nicht doppeln und erzielen das gleiche Ergebnis in Bezug auf die Dichte Ihres Teppichs.
SCHRITT 3: Bereit, Los, Tuften!
Sie sind jetzt bereit, mit dem Tuften zu beginnen. Der Umgang mit der Tufting-Pistole kann anfangs verwirrend erscheinen. Jede Tufting-Maschine ist mit einem Geschwindigkeitsregler ausgestattet. Für eine optimale Nutzung und um zu vermeiden, dass Sie Ihre Mönchsstoff beschädigen, empfehlen wir, Ihre Tufting-Pistole immer mit minimaler Geschwindigkeit zu verwenden.
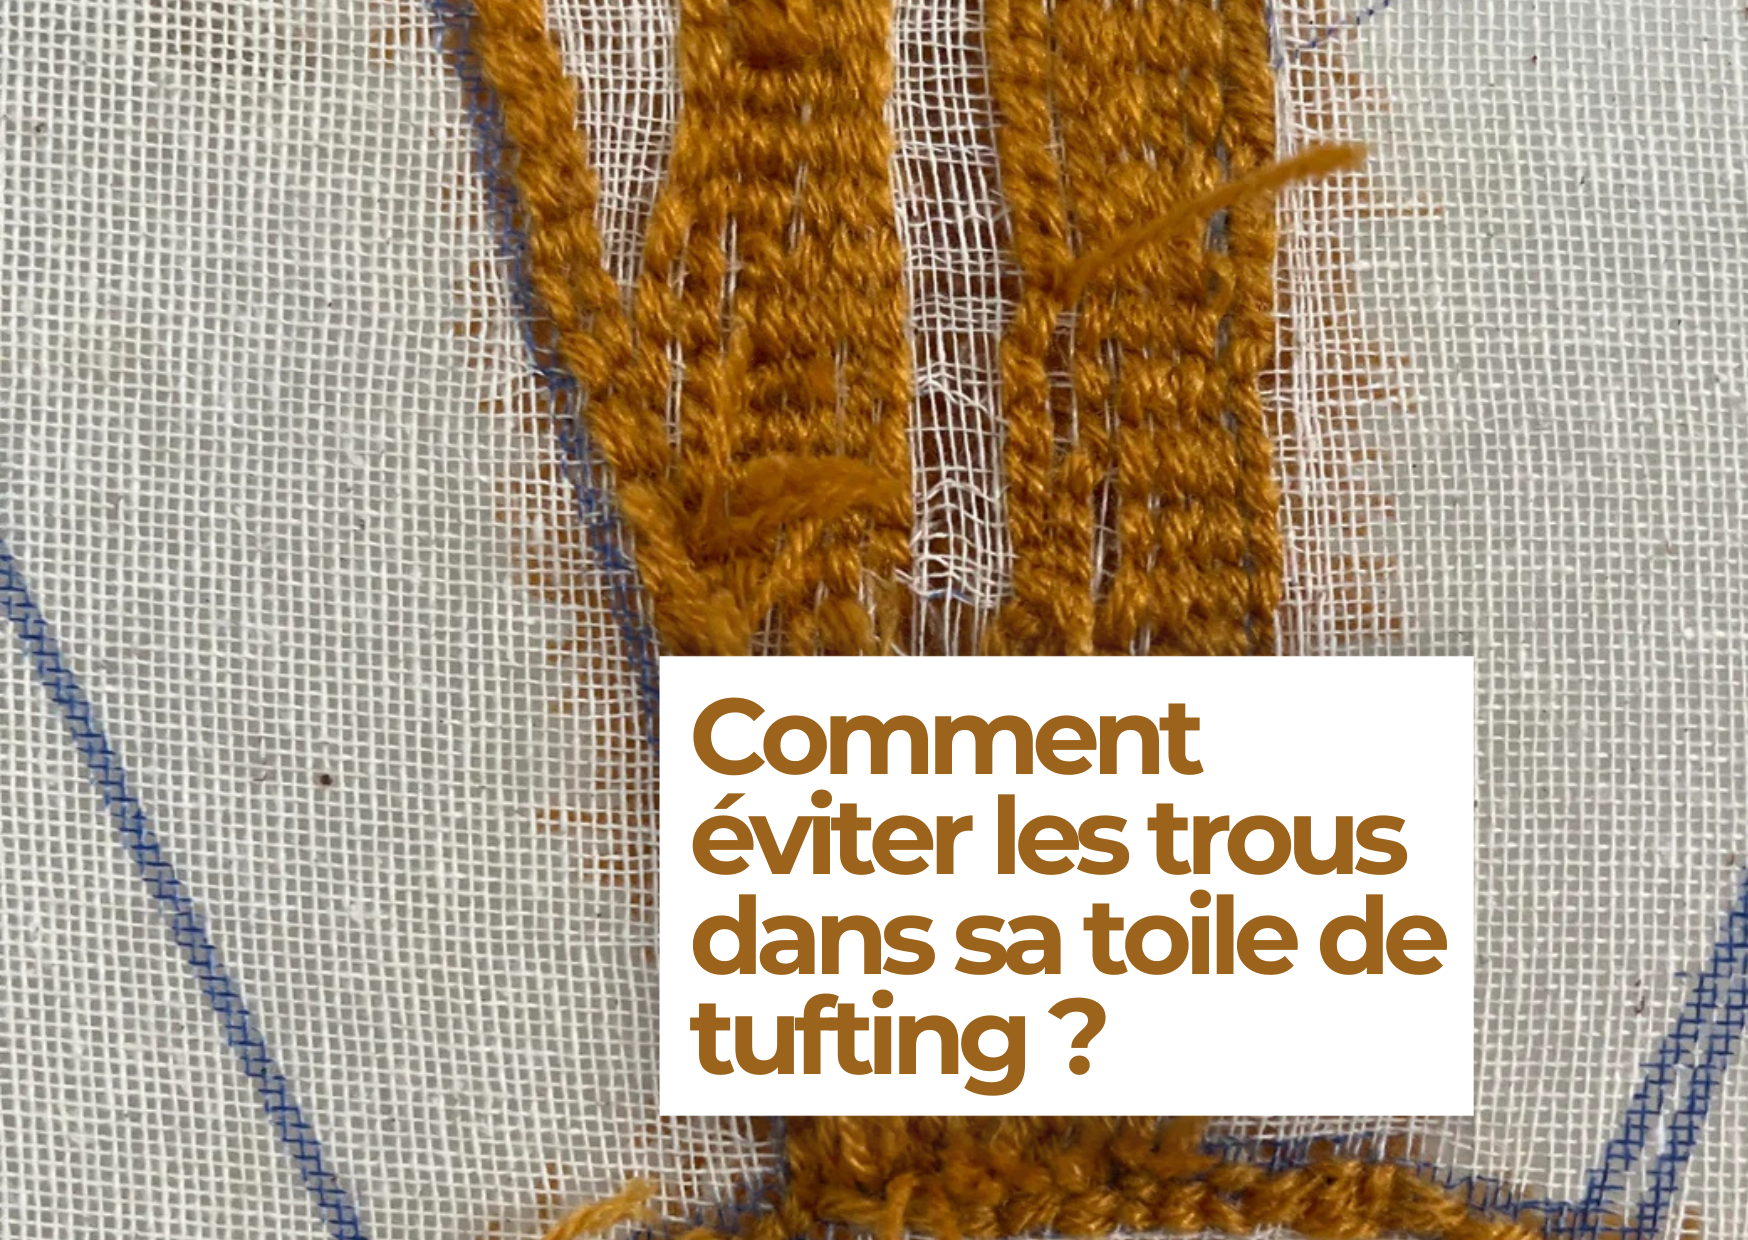
Beim Gebrauch Ihrer Tufting-Pistole halten Sie sie mit beiden Händen. Eine Hand greift den Griff, während die andere den Schaft hält, insbesondere den Abzug. Die Arbeit mit der Tufting-Pistole sollte immer in eine Richtung erfolgen. Bewegen Sie Ihre Tufting-Pistole gleichmäßig vorwärts. Die Bewegungen können von unten nach oben erfolgen, aber niemals von oben nach unten. Üben Sie starken Druck auf die Nadel der Tufting-Pistole aus. Dies stellt sicher, dass der Fuß der Maschine gut gegen die Leinwand gedrückt wird. Wenn der Druck nachlässt, besteht die Gefahr, dass der Faden nicht richtig eingeführt wird, was die Leinwand beschädigen und Löcher verursachen könnte.

SCHRITT 4: Teppich-Finish - Die Rückseite Ihres Teppichs kleben
Nachdem Sie Ihr Design getuftet haben, ist es wichtig, Kleber auf die Rückseite Ihres Teppichs aufzutragen, um die Fäden zu versiegeln und zu verhindern, dass sie sich lösen. Verwenden Sie einen speziell für Teppiche entwickelten Kleber. Lassen Sie ihn dann über Nacht oder mehrere Stunden trocknen, bis der Kleber vollständig trocken ist.

SCHRITT 5: Wie man die Ränder Ihres Teppichs umschlägt
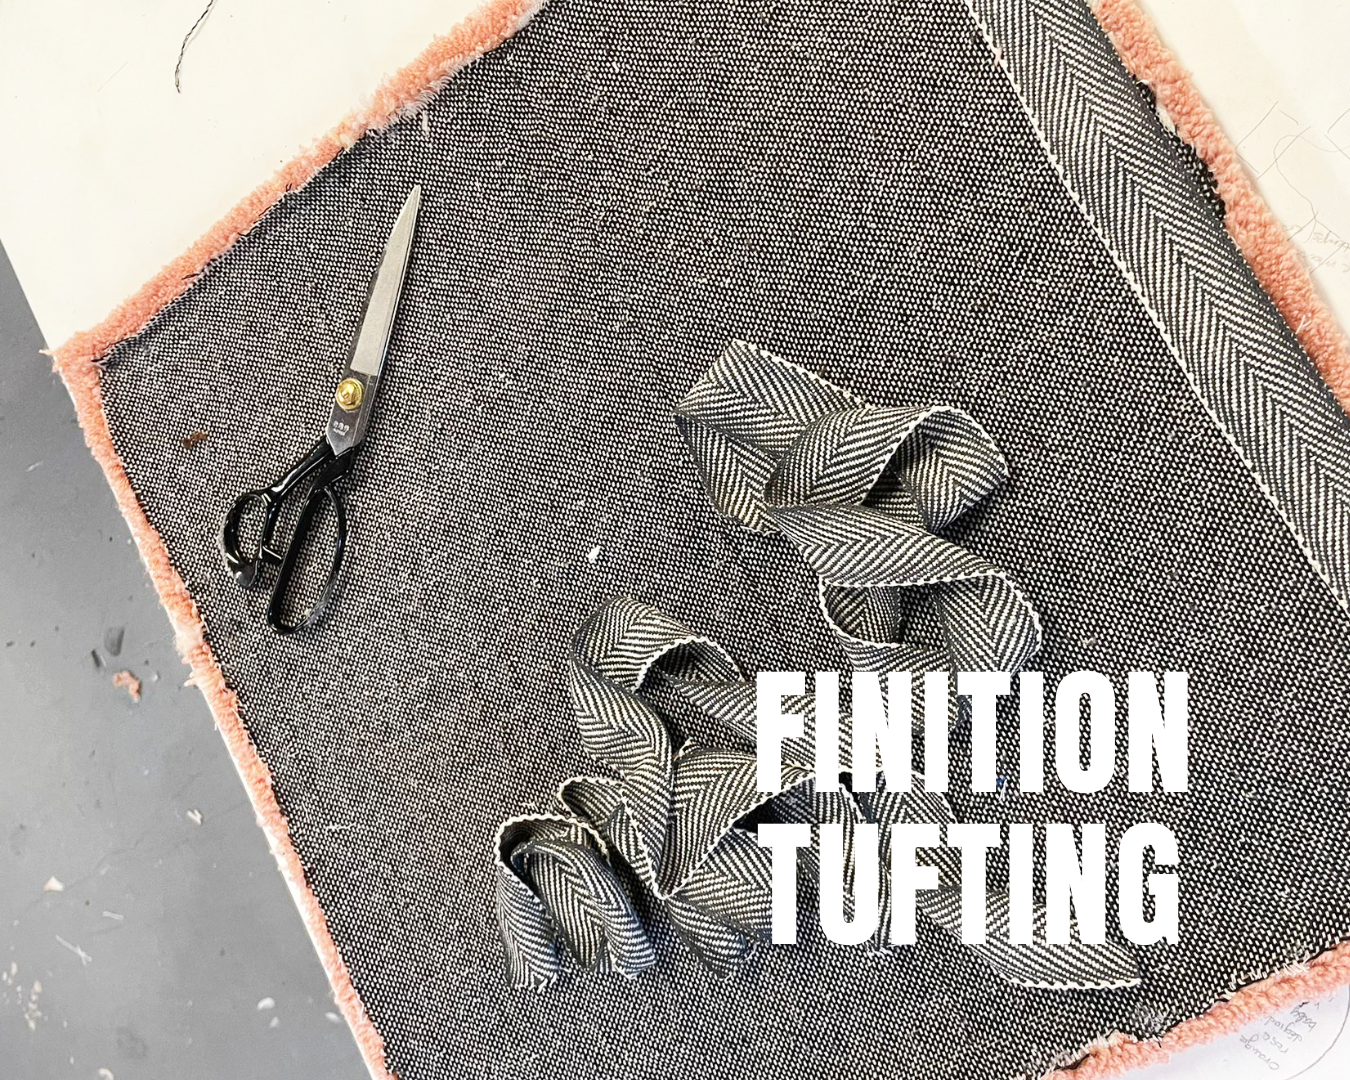
Wenn der Kleber getrocknet ist, entfernen Sie die Mönchleinwand von Ihrem Tufting-Rahmen. Schneiden Sie dann den überschüssigen Stoff ab und lassen Sie einen Rand von etwa 2 bis 3 cm, um das Umklappen der Ränder Ihres Teppichs zu erleichtern. Schneiden Sie alle 5 cm tief ein und fixieren Sie dann jeden Rand mit einer Heißklebepistole.

|

|
SCHRITT 6: Den Abschlussstoff kleben
Sie müssen jetzt Ihren Abschlussstoff auf die Rückseite Ihres Teppichs kleben. Verwenden Sie einen permanenten Sprühkleber. Was den Stoff betrifft, können Sie eine Baumwollabschlussleinwand oder rutschfesten Stoff wählen. Nachdem Sie Ihre Leinwand auf die Rückseite Ihres Teppichs gelegt haben, drücken Sie gut auf die gesamte Fläche. Dies gewährleistet eine gute Haftung. Schneiden Sie dann den überschüssigen Stoff ab.

|

|
SCHRITT 7: Wie man Ihren Teppich schneidet
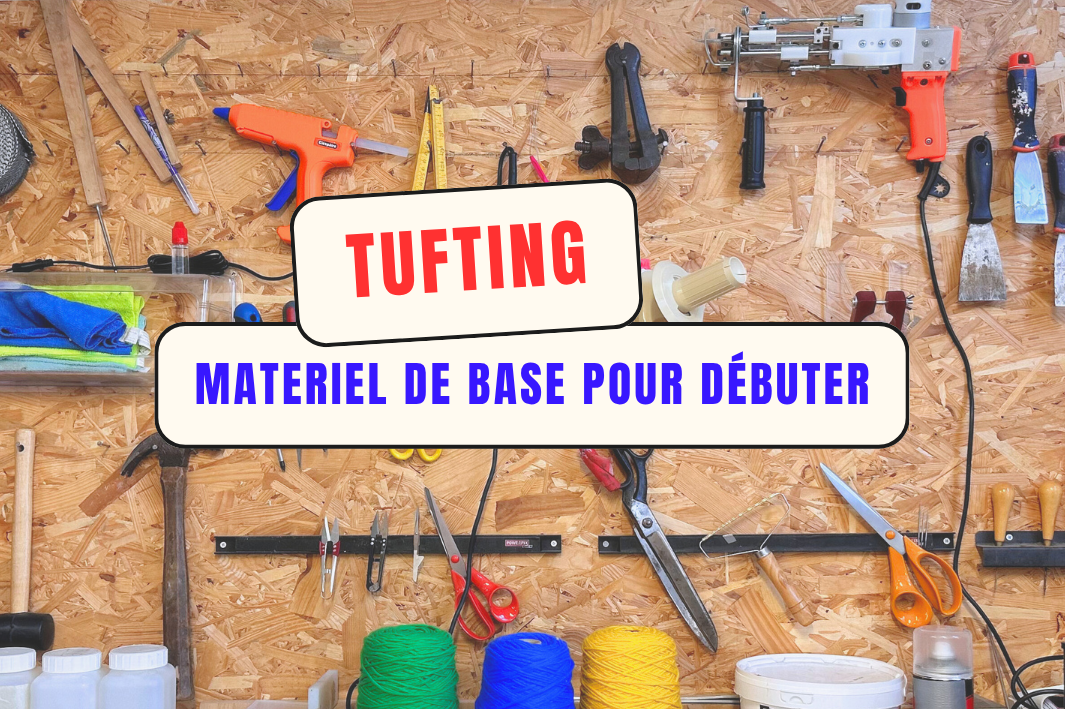
Ihr Teppich ist fast fertig. Bevor Sie ihn in Ihre Dekoration integrieren, müssen Sie ihn schneiden. Dieser Schritt ist wichtig, da er Ihnen ermöglicht, die Konturen Ihres Teppichs zu schneiden, zu reinigen und zu verfeinern, wodurch Ihr Design klarer und ästhetischer wird. Dazu benötigen Sie einen speziellen Tufting-Rasenmäher und eine Schere. Dieser Schritt ist befriedigend, aber komplex; denken Sie daran, dass jede Fähigkeit Übung erfordert und es natürlich ist, Fehler zu machen. Seien Sie also stolz auf Ihre Kreationen, egal welches Ergebnis Sie erzielen.
 |

|
Wir hoffen, dass Ihnen dieser Artikel nützlich war und Ihnen einen Einblick gegeben hat, wie man einen getufteten Teppich herstellt. Wenn Sie Fragen haben, zögern Sie nicht, diese in den Kommentaren unten zu stellen. Viel Spaß beim Tuften an alle!


 Acrylfaden


