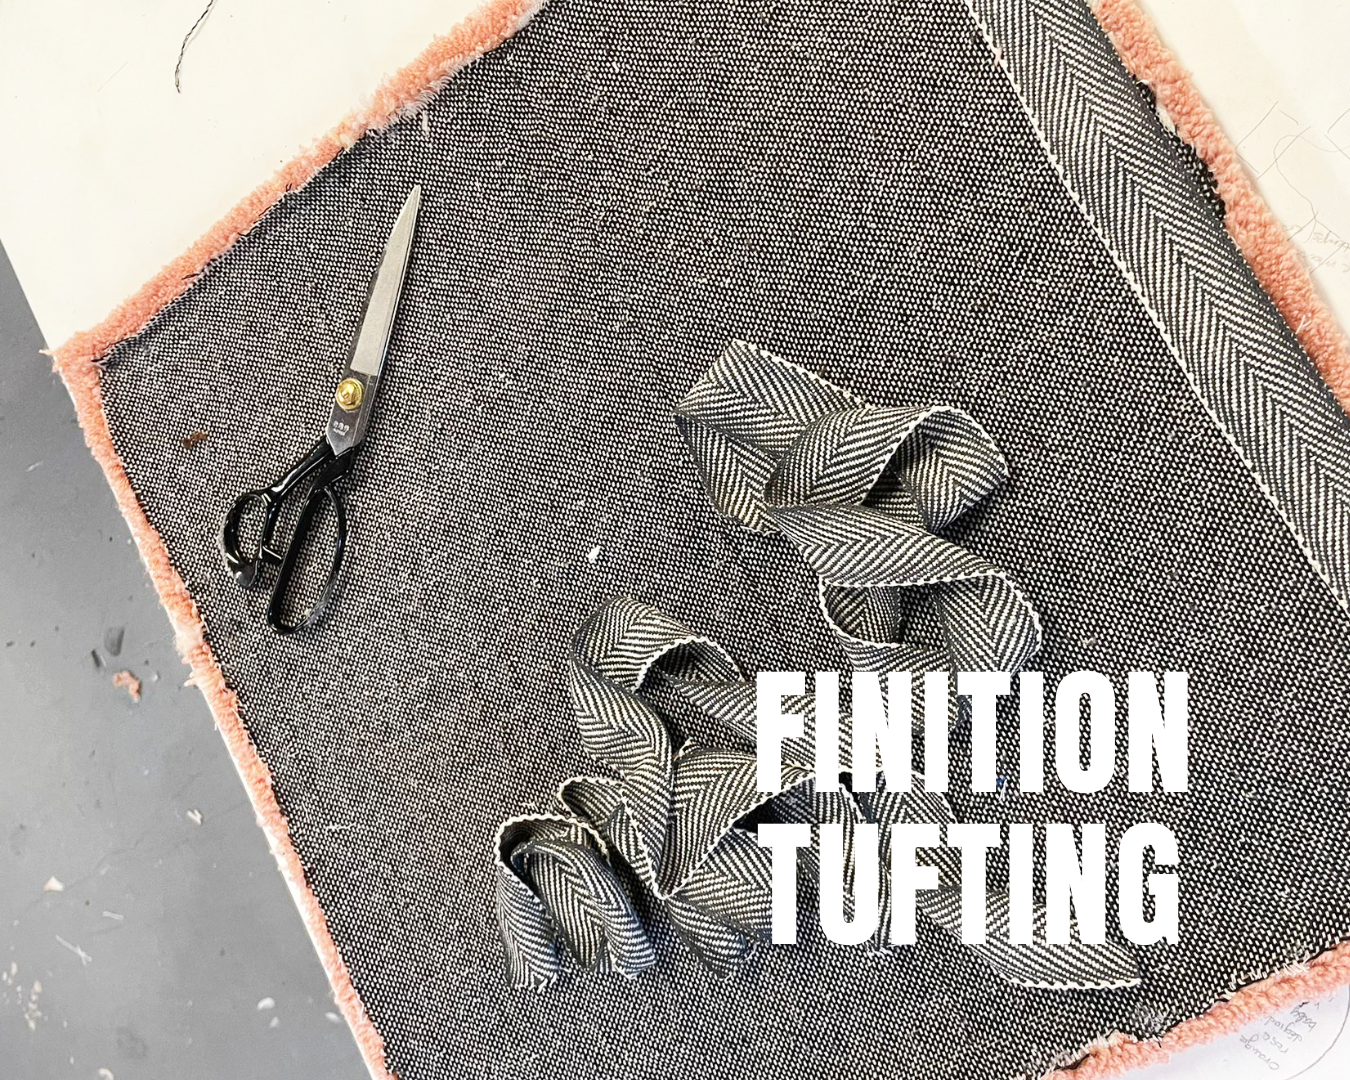
When you're starting out with tufting (and even later on), there's one problem you might encounter: making a hole in the fabric . Yes, it's frustrating, especially when you're well into a project. But don't panic: holes aren't inevitable, nor is it a reason to give up.
In this article, we explain why these holes appear , how to avoid them , and most importantly how to repair them effectively , so you can continue creating without stress and without throwing away all your work.
Why do holes appear in the tufting fabric?
Making a hole in the canvas isn't just a matter of skill level. In fact, it often results from a combination of poorly executed movements , unsuitable equipment , or a pace that's too fast . Here are the main causes to be aware of:
1. A poor quality or poorly chosen canvas
Not all fabrics are suitable for tufting. Many beginners use burlap, thinking they'll save a few euros. However, this material is far too fragile to withstand the pressure of a tufting gun.
Our advice : choose a premium tufting canvas or a white canvas with yellow lines . This is truly the foundation of your work: a bad canvas is like building a house on sand. You risk accumulating problems (and frustration).
2. A canvas that is not properly stretched on the frame
When starting out, you don't always know how to properly tension the fabric or with what force. You're afraid of pulling too hard and tearing everything. However, it's often the opposite: the tighter the fabric, the smoother the tufting.
3. Excessive or irregular pressure


Are you pressing too hard? Are you pulling the gun away too quickly? Or are you tufting in an unsuitable direction (for example, from top to bottom)? These are common mistakes that can weaken the fabric.
Another common problem: leaving the trigger pressed for too long. If the scissors on your tufting gun don't find any wool to cut, they'll end up attacking the fabric directly.
How to repair a hole in tufting fabric
Now that you know how to avoid holes, what if the damage is already done? Don't panic: there are several ways to repair a torn canvas without throwing away your project.
Option 1 – Apply a patch to the back


If the hole is quite large (from 5 cm), the easiest solution is to place a piece of tufting fabric as reinforcement on the back.
Steps to follow:
-
Cut out a square or rectangle slightly larger than the hole.
-
Place it at the back of the canvas, keeping it taut.
-
Secure it with fabric glue , fusible interfacing , or a few hand stitches .
-
Once it's dry, you can resume your tufting on top, gently.
Option 2 – Repair with a needle and thread

If the hole is small, there's no need to add a patch. You can mend it manually with a needle.
How to do it:
-
Pick up a discreet thread (for example, from the side of the canvas).
-
With a needle, gently close the hole, like a stitch: follow the lines of the weave, horizontally and vertically.
-
You can then lightly tuft over it to hide the repair.
FAQ – Frequently asked questions about holes in tufting
What fabric should be used for tufting?
We recommend two types: the special tufting premium fabric and the white fabric with yellow lines , both designed to withstand the pressure of the tufting gun.
Can a torn canvas be repaired?
Yes. It's perfectly possible to reattach a canvas with a fabric patch or iron-on adhesive on the back. This allows you to continue your project without any problems.
What if the hole is tiny?
In this case, a simple needle repair with thread is often sufficient. The goal is to neatly close the fibers so they don't open up further.
To go further
In conclusion
Making a hole in your tufting is always unpleasant… but it's also a normal step in learning to tuft. The important thing is to understand why it happens , and to know how to correct it without stressing out.
Be kind to yourself, keep experimenting, and remember: even the greatest rugmakers started by making mistakes. You're on the right track!