Tufting is the new passion of creatives. A blend of craftsmanship and contemporary art, this technique allows you to make your own rugs, cushions, mirrors or wall art in just a few hours.
But before you light up your tufting gun , you still need to know what equipment to choose to get started properly.
Here is the complete guide to tufting equipment, with all the explanations to get started with peace of mind.
What exactly is tufting?
Tufting is a contemporary craft technique that involves projecting thread onto a stretched canvas using an electric machine called a tufting gun .
Although originally this method was used to make carpets, today it is used to make tufted mirrors, cushions, wall tapestries or even chair seats.
Accessible to all, tufting appeals to both artisans and beginners looking for a relaxing and creative manual activity.
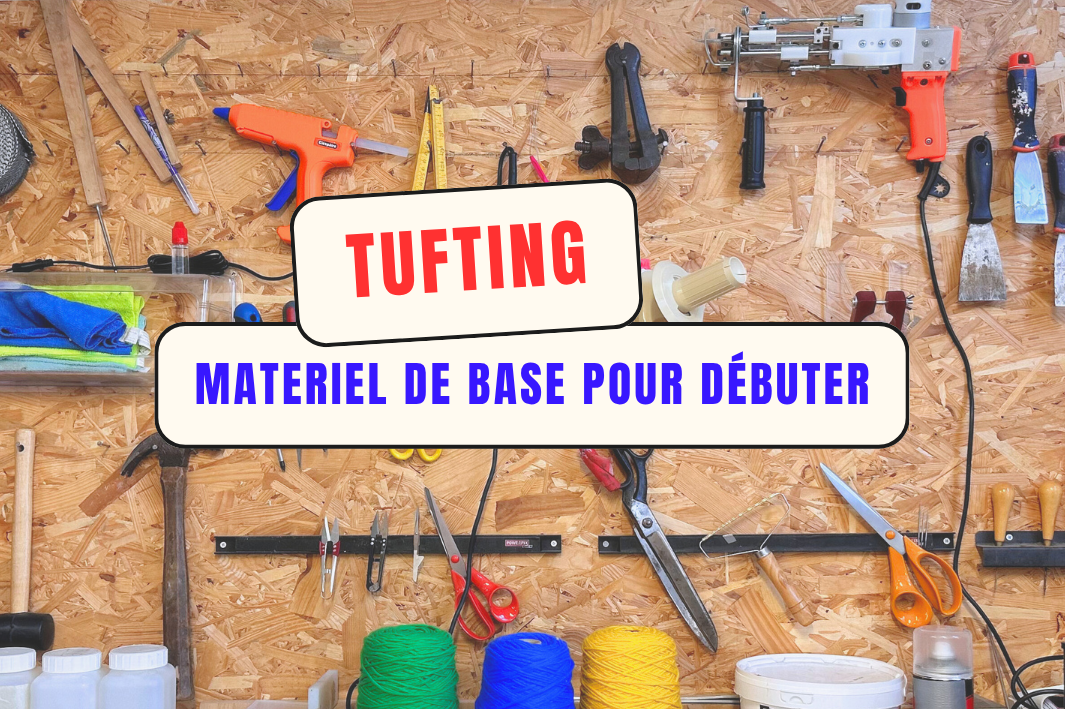
The essential equipment for starting tufting

The tufted frame
This is the first thing you will need.
The tufting frame is a wooden structure equipped with nailed strips, called grippers (small metal points), which allow the fabric to be stretched tightly.
This tension is essential: a poorly stretched fabric makes tufting difficult and uneven.
You can make your own frame or buy a ready-made one.
The important thing is that it is stable, sturdy and comfortable to use.
The tufting gun
This is the main machine, the one that does all the work.
The tufting gun allows you to quickly insert the thread into the fabric to create your design.
The two modes of tufting gun
-
The AK-1 cut tufting gun : the most common and easiest to use. It cuts the yarn at each stitch and creates a soft, plush finish with a "fluffy" effect typical of rugs.
-
The AK-II Loop tufting gun : instead of cutting, the machine forms small, continuous loops. The result is more textured, similar to punch needle .
To begin with, Cut mode is the most suitable. It is more intuitive, quicker to master, and more forgiving of mistakes.
If you want to experiment with both, some two-in-one models, like the AK-DUO , allow you to switch from Cut mode to Loop mode with a simple adjustment.
Tufting yarn

The choice of yarn directly influences the final look and durability of your piece.
There are two main families of yarn: acrylic and New Zealand wool.
Acrylic yarn
100% acrylic tufting yarn is what I recommend for beginners. Lightweight, economical, and easy to find, it's perfect for small decorative projects or wall hangings. It allows you to test, experiment, and familiarize yourself with the machine without breaking the bank.
New Zealand wool
New Zealand sheep's wool is the ideal fiber for floor rugs. Stronger and thicker, it withstands foot traffic and friction very well. It offers a higher quality, denser, and more authentic look.
If you already have some experience or if you want to create durable pieces, this is the best option.
My advice: start with acrylic, then move on to wool once you have mastered the technique.
Balls or cones: what's the difference?
Tufting yarn comes in two main forms:
-
Balls of yarn (50g or 100g): perfect for knitting or crocheting, but too thin for tufting. If you use a single strand, the machine may "tuft in mid-air," and the rug will be sparse or fragile.
To use them in tufting, you need to wind two yarns together using a manual winder to obtain a thicker yarn that is suitable for the machine. -
Cones: much more suitable. The thread is continuous, thicker and feeds easily into the machine, no need for a winder or preparation.
A 400 gram cone is equivalent to approximately eight 100 g balls or sixteen 50 g balls.
It's a more stable, more practical, and more economical choice in the long run.
The tufted fabric

The canvas is the surface on which you will work. There are two complementary types:
The main canvas (tufted canvas)
This is the one you stretch over the frame, the one on which you will tuft your thread.
-
The premium tufted fabric is strong and even, perfect for a professional finish.
-
The white fabric with yellow stripes, which is softer and contains cotton, is ideal for beginners.
The secondary tissue (backing)
This is the one that is glued to the back of the rug, once the tufting is finished.
It reinforces the whole structure and protects the wires.
There are several types, depending on the desired look and aesthetic preferences.
The projector
The projector makes this technique accessible to everyone.
No need to be a draftsman: simply project your drawing onto the canvas, then trace it with a felt-tip pen.
It's simple, quick and precise, and it allows you to obtain clean and well-proportioned patterns.
Glues
The glue is the element that permanently seals your rug.
Without it, the threads can come loose over time.
Three products are useful:
-
Carpet glue, to be applied to the back of the carpet to fix the threads.
-
Neoprene spray adhesive, for gluing the finishing fabric.
-
The hot glue gun , for edges and touch-ups.
Take the time to let it dry between each step: this is what guarantees the strength and longevity of your rug.
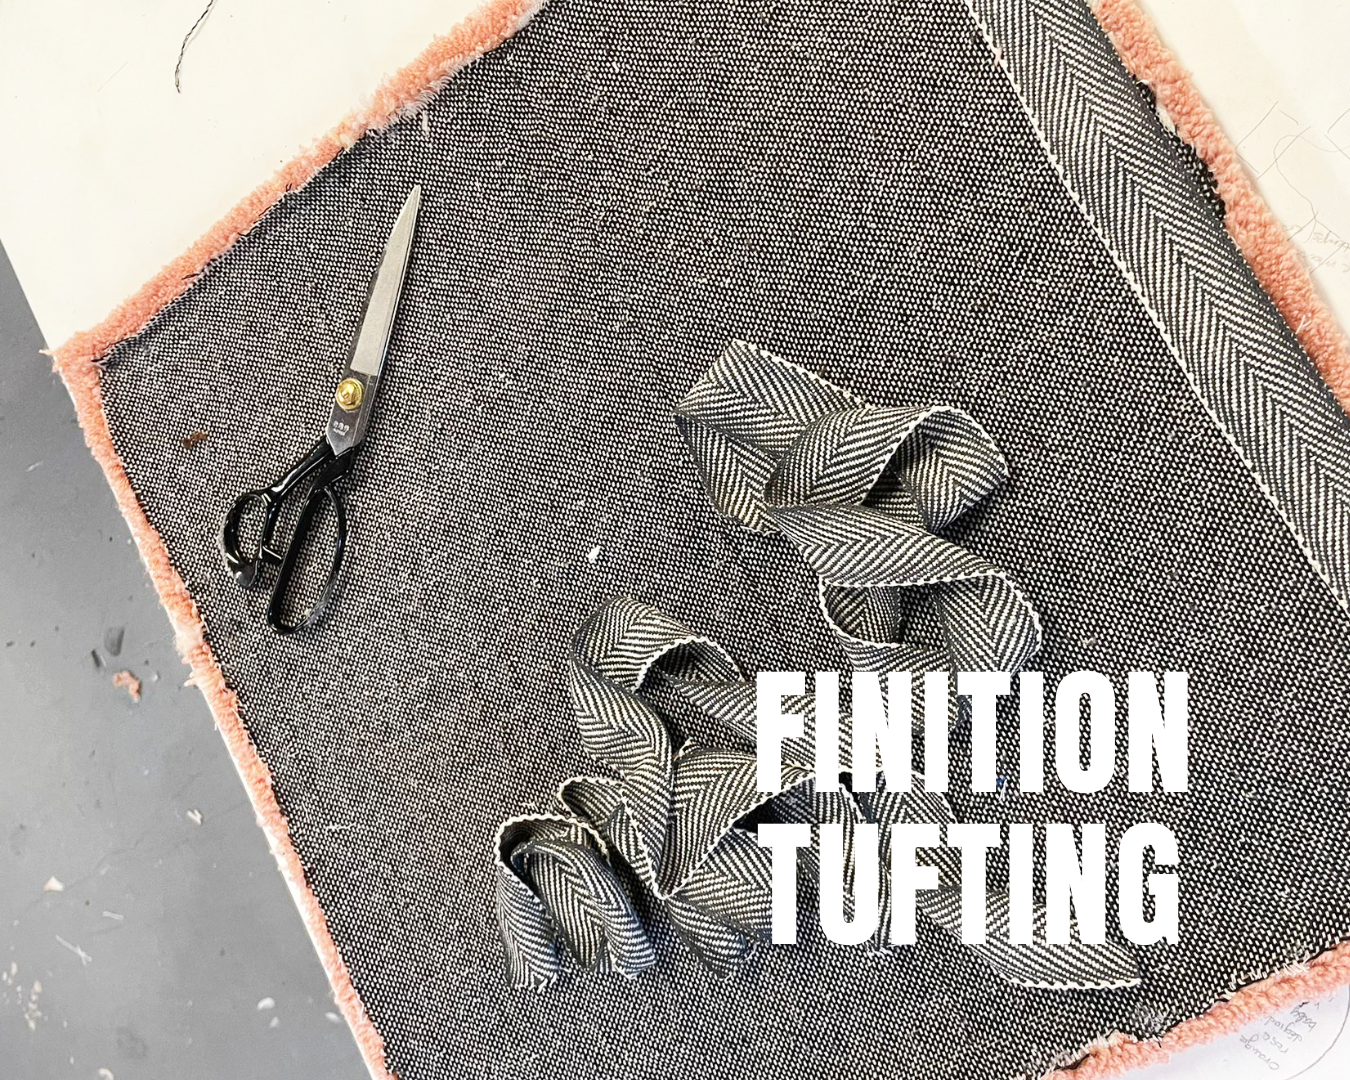
Finishing tools

Once your design is tufted, the work is not finished.
Your rug needs to be refined, sculpted and cleaned for a professional finish.
Tools needed:
-
A finishing trimmer , to even out heights and reveal details.
-
A shaving guide , for a clean and even shave.
-
Pelican scissors , for cutting off small excess pieces.
-
A tufting brush , to remove wool residue and smooth the surface.
It is at this stage that the drawing comes to life, that the shapes become more defined and the texture is refined.
Useful little accessories

Certain tools make daily work easier:
-
A needle threader , to make threading the thread into the tufting gun easier.
-
Thread-cutting scissors , for small adjustments to the back of the rug.
-
A manual winder , handy if you still use balls of yarn.
Small accessories, certainly, but ones that make the practice smoother and more comfortable.
Conclusion
Now you know what equipment to choose to get started with tufting: the frame, the fabric, the machine, the threads and the tools that will make all the difference.
With this basic kit, you can already make your first tufted rug, test the correct techniques and gain confidence in the technique.
If you want to go further, two resources can help you move to the next step:
-
How to choose a tufting pattern to find inspiration and prepare your first drawing,
-
Getting started with tufting: step by step to follow a complete and illustrated guide to the rug from A to Z.
And if you are looking for quality tufting materials, tested and approved by craftsmen, everything is available on leTufting.fr .
The most important thing now is to get started.
Each rug begins with a first point.