


La pistola de tufting es la herramienta indispensable para facilitar tu práctica del tufting. Existen diferentes modelos que te permiten dar rienda suelta a tus ideas creativas. Por eso es importante no elegir tu tufting gun a ciegas.
Experto o principiante, ¿qué tufting gun elegir?
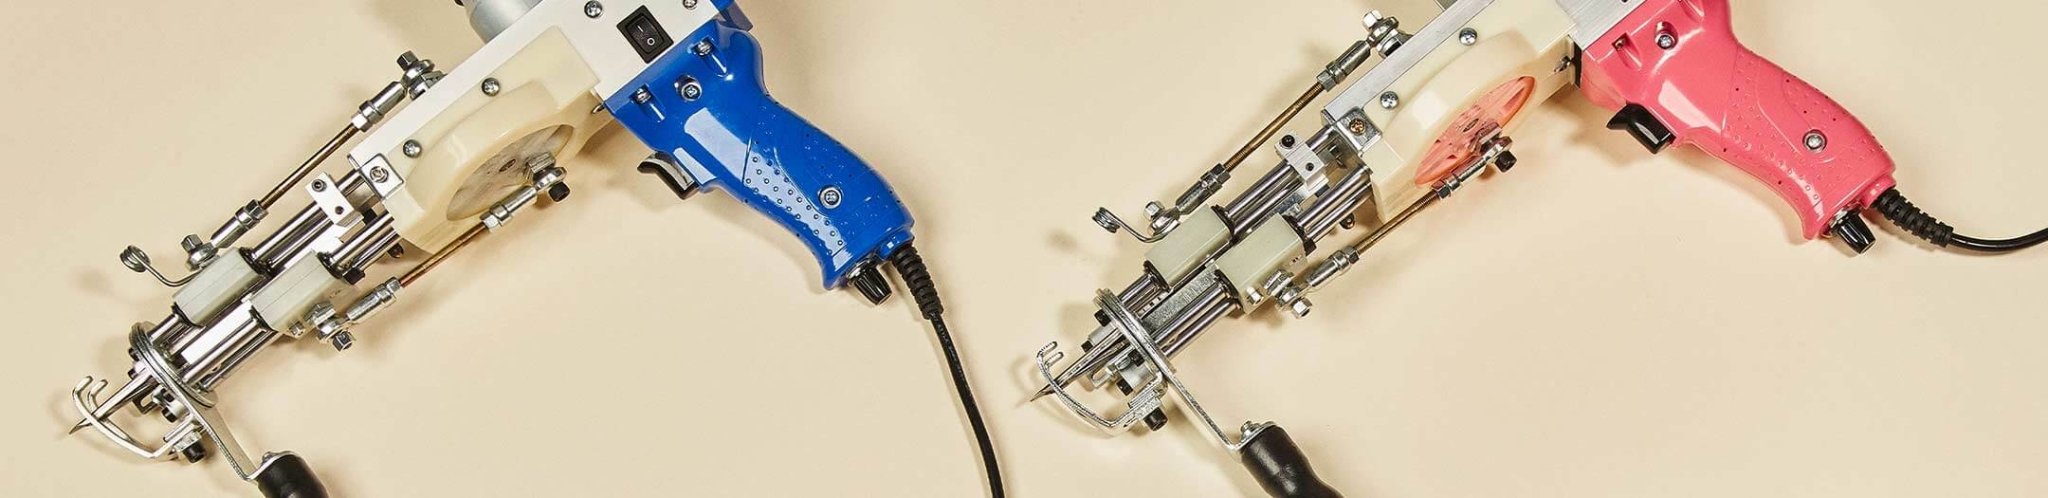
Tanto si eres principiante como si tienes más experiencia, la elección de tu tufting gun depende en gran medida del acabado que deseas obtener. Tres excelentes modelos destacan en el mercado.
El tufting gun AK-I CUT
Se utiliza para obtener un acabado CUT. Esta pistola de tufting está equipada con tijeras integradas que te permitirán realizar creaciones tuftadas con una altura de hilo ajustable de 7 a 18 mm. Rápida y ligera, no podrás prescindir de ella.
El tufting gun AK-II LOOP
El tufting gun AK-II LOOP es la herramienta perfecta tanto para principiantes como para profesionales. A diferencia del tufting gun AK-I CUT, el tufting gun AK-II LOOP no dispone de tijeras integradas. Deberás cortar el hilo manualmente cada vez que quieras retirar la pistola de tufting de la tela tensada. Para ello, utiliza unas tijeras o un corta hilos. Este tufting gun te permitirá realizar creaciones con una altura de hilo ajustable de 3 a 13 mm.
El tufting gun AKDUO LOOP y CUT
El tufting gun AKDUO CUT y LOOP es una pistola de tufting de nueva generación 2-en-1. Te permitirá realizar creaciones tanto en acabado CUT como LOOP.
Para comprender mejor esta herramienta profesional de calidad, tendrás acceso privilegiado en línea a toda la documentación necesaria. ¿Prefieres aprender en persona? ¡Asiste entonces a un taller de iniciación!
FAQ - Pistola Tufting (Tufting Gun)
-
El tufting se utiliza principalmente para crear alfombras, pero también permite fabricar espejos tufting, cojines, cuadros textiles e incluso prendas de vestir adaptando las técnicas.
-
Todo depende del tamaño y de la complejidad del diseño. Para un principiante, una alfombra de 60 cm x 60 cm tarda aproximadamente dos días, incluyendo el tufting, el recorte y los acabados.
-
La elección de la tufting gun depende del tipo de acabado que desees realizar: cut, loop o cut and loop.
• AK-1 CUT: El modelo más popular, perfecto tanto para principiantes como para profesionales que desean realizar alfombras en modo cut (efecto fluffy).
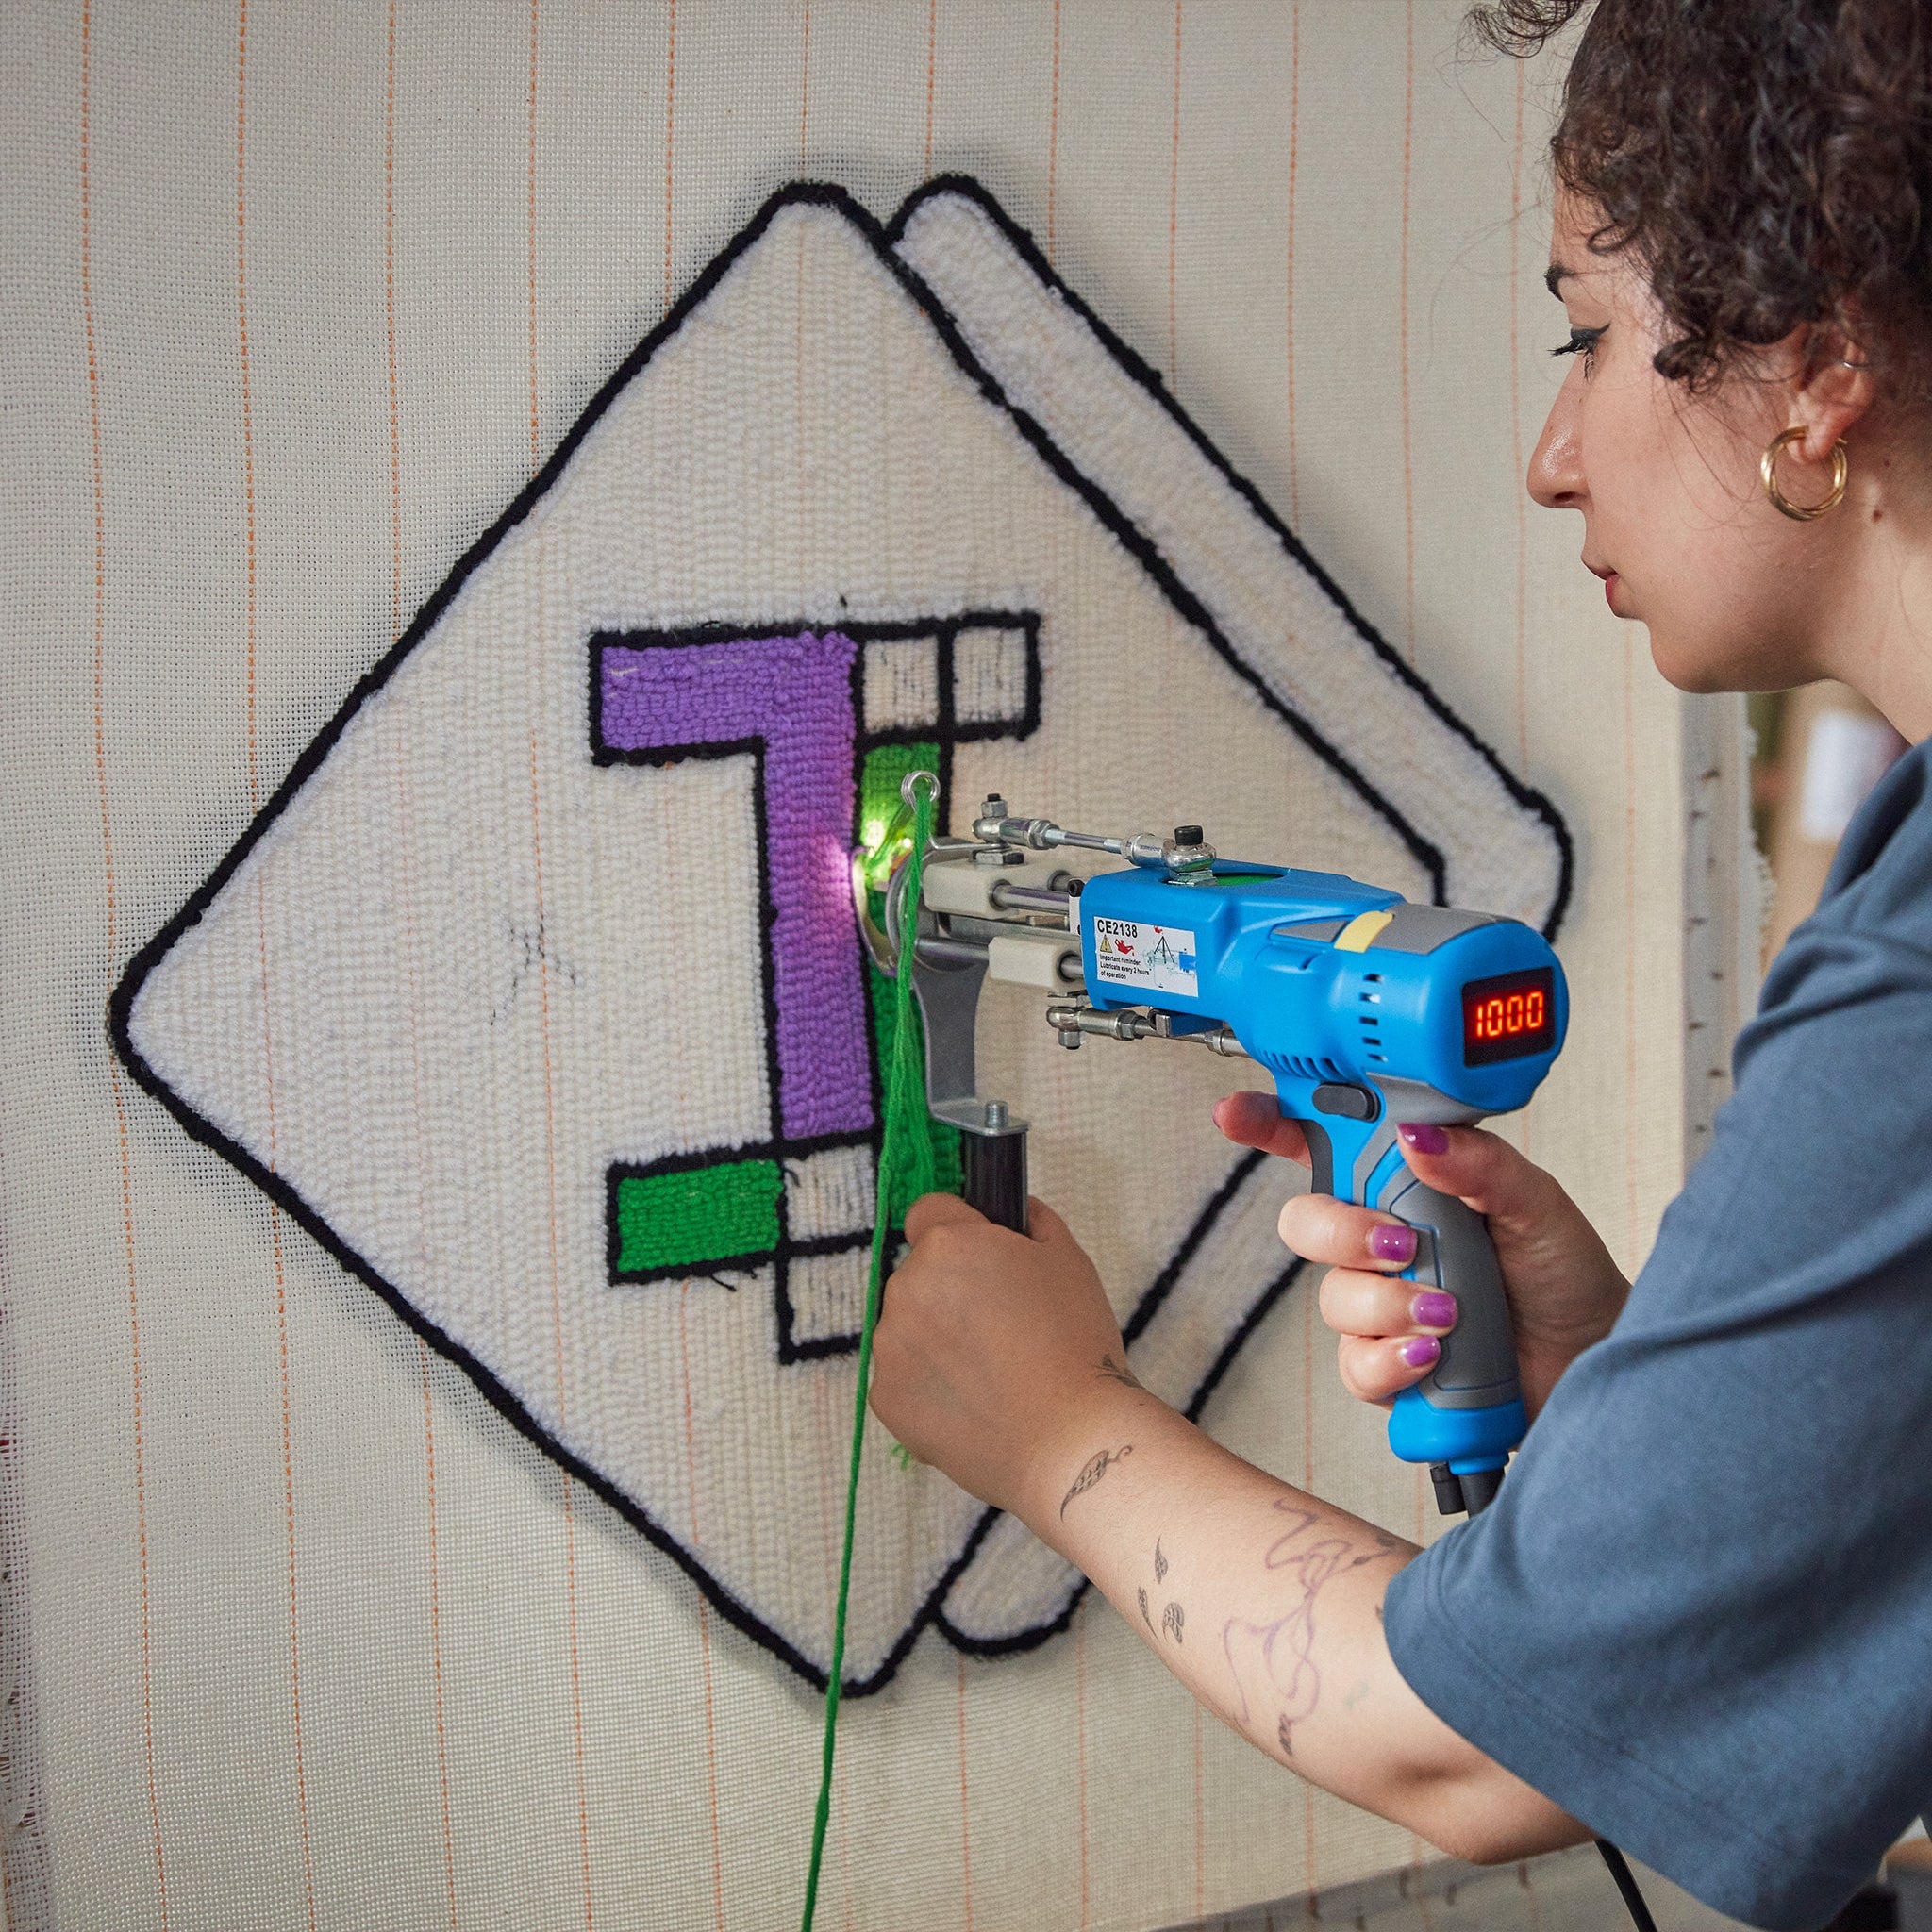
• AK-V CUT: Versión mejorada del AK-1, con reducción de ruido y luz LED integrada, ideal para proyectos que requieren mayor precisión.
• AK-II LOOP: Diseñado para realizar únicamente bucles continuos en modo loop, creando un efecto texturizado.
• AK-DUO CUT & LOOP: Permite alternar entre modo cut y modo loop, ideal para quienes desean combinar ambos estilos en un mismo proyecto. -
- Modo cut: La máquina corta el hilo en cada presión del gatillo, ofreciendo un efecto “fluffy” y grueso, como las alfombras clásicas de salón.
- Modo loop: La máquina deja el hilo en bucles, creando una superficie texturizada similar al punch needle.
-
• Tufting gun manual: Es ideal para realizar detalles con alturas de hilo mayores que las de las tufting guns eléctricas, permitiendo crear relieves o motivos más largos.
• Tufting gun eléctrica: Ideal para tuftear alfombras y cualquier proyecto tufting de tamaño pequeño, mediano o grande de forma rápida. -
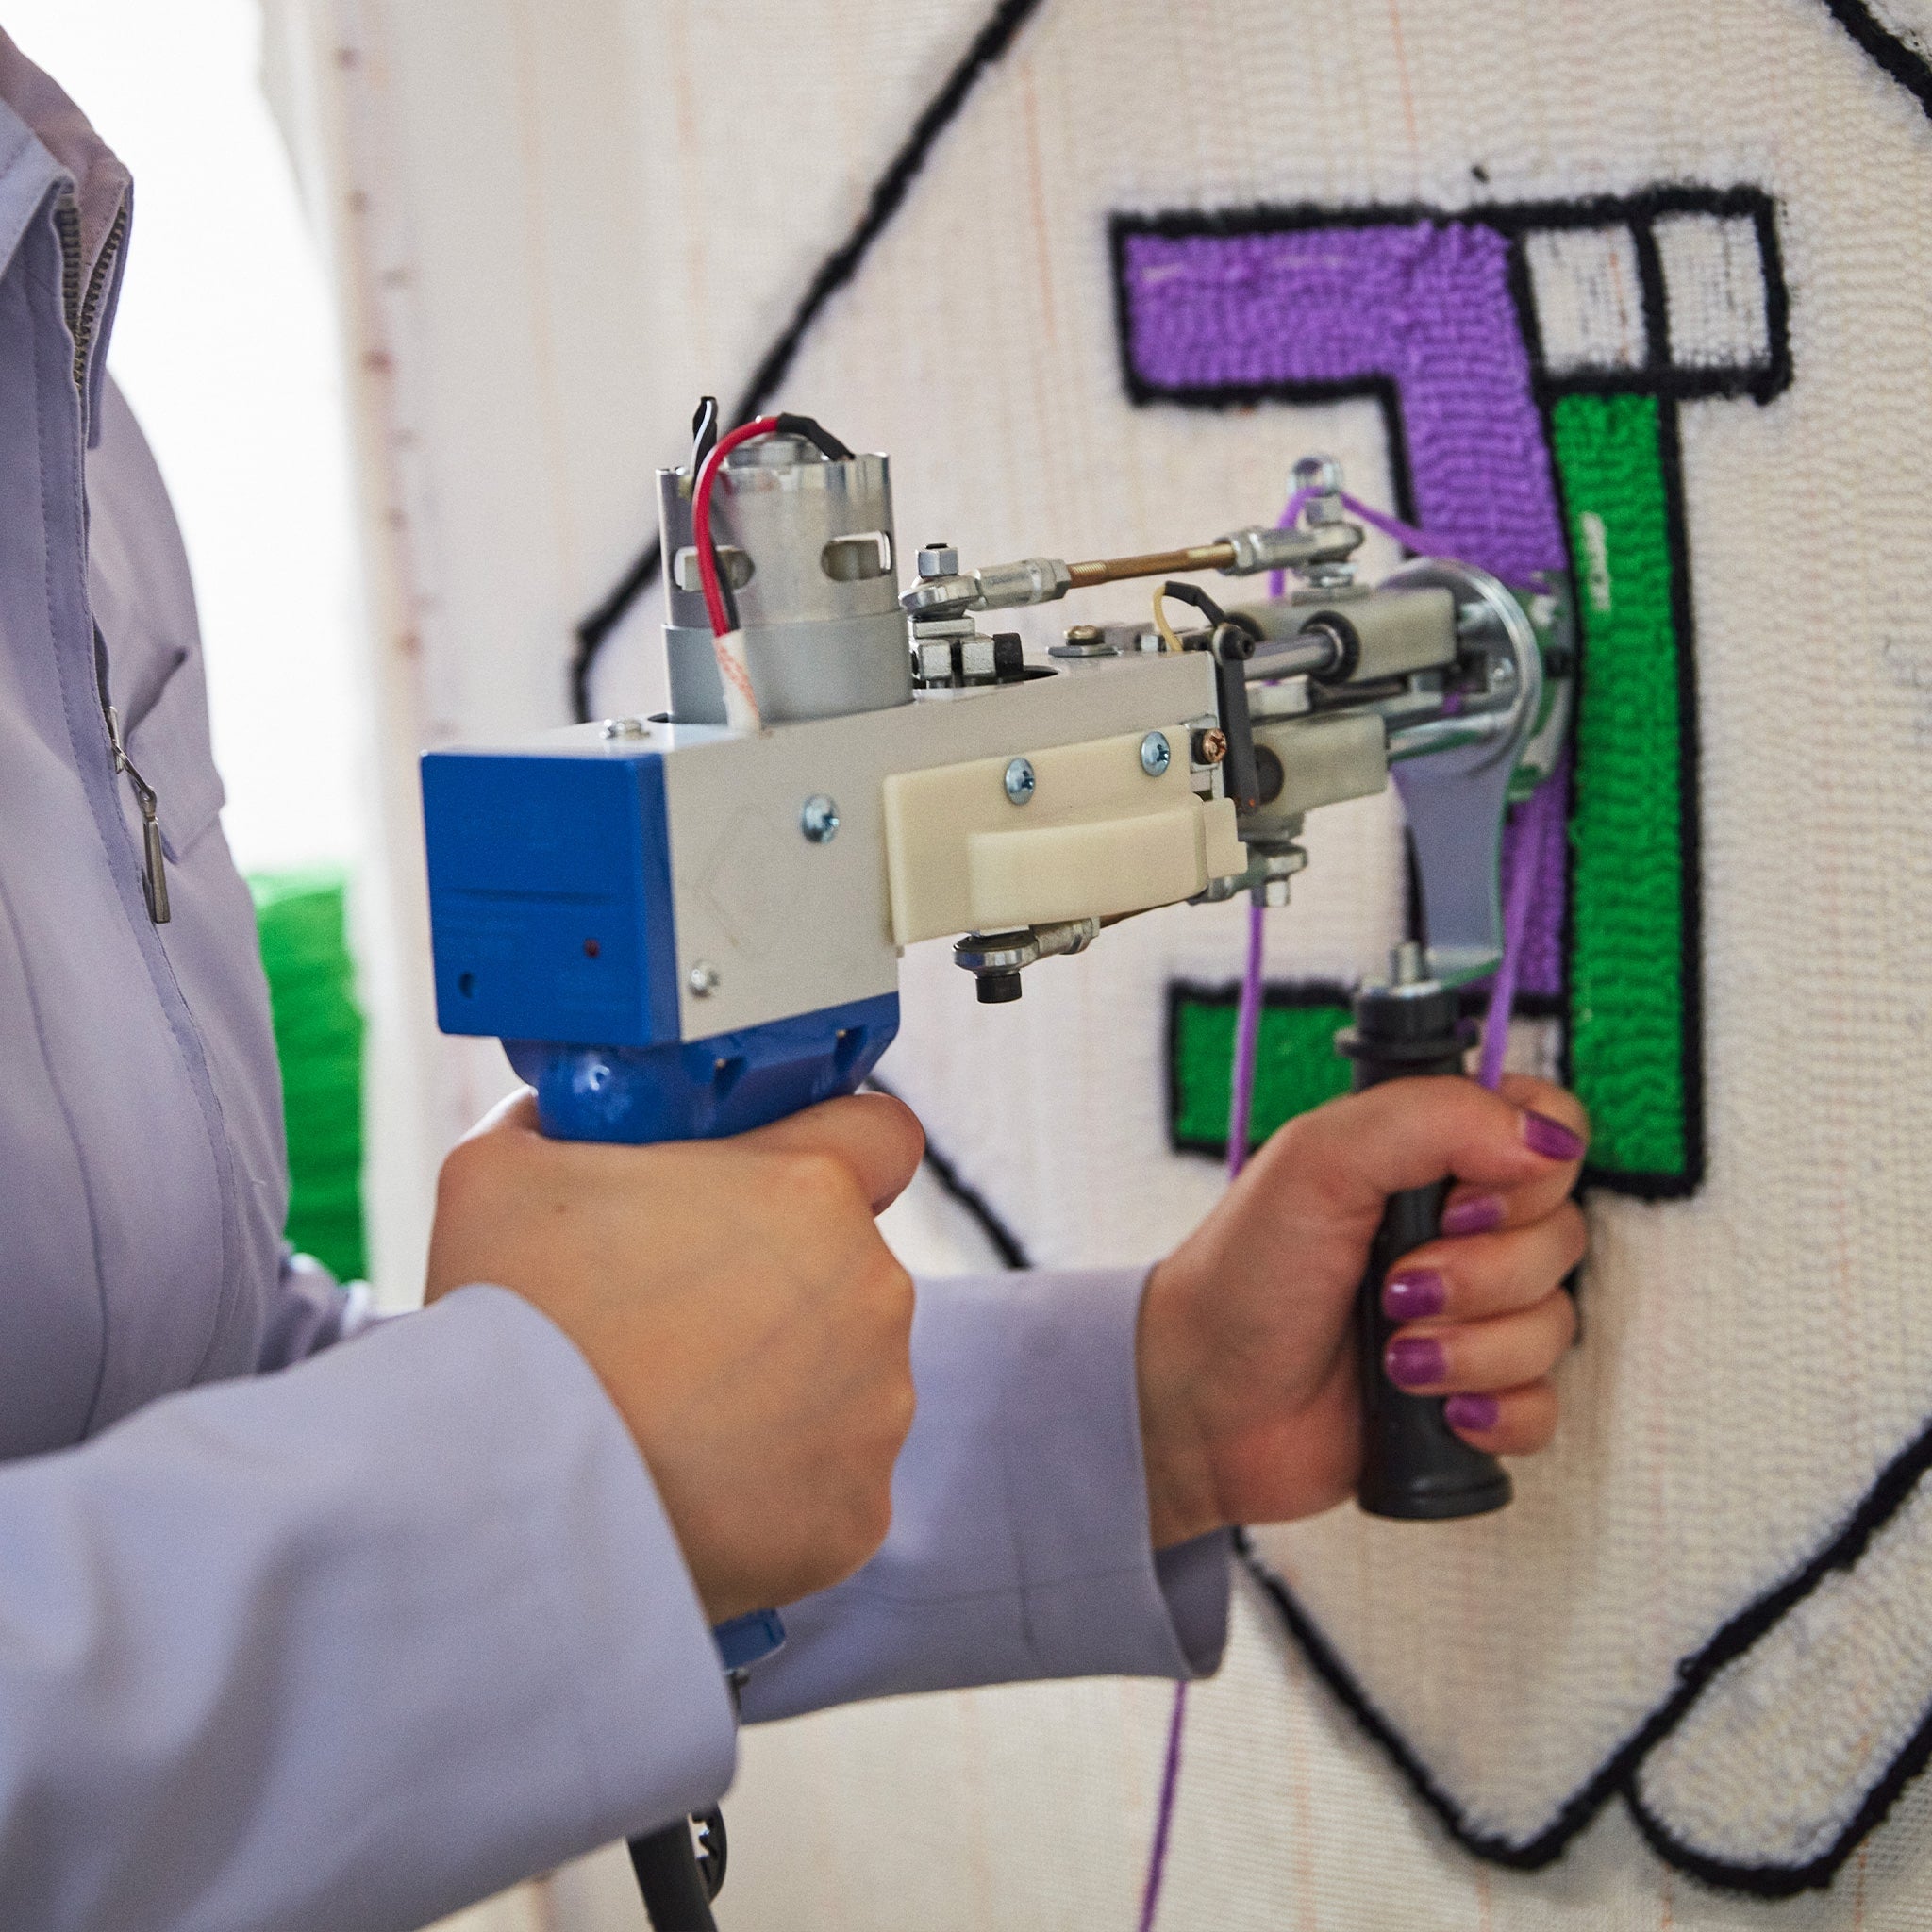
La tufting gun funciona principalmente de abajo hacia arriba. Solo puede avanzar en la dirección en la que está orientado el pie de la máquina. Aquí tienes algunos consejos para utilizarla correctamente:
• Líneas rectas: Mueve la máquina lentamente y de forma fluida, manteniendo una presión constante sobre la tela.
• Líneas horizontales: Inclina ligeramente la tufting gun para que el pie siga siempre la dirección del movimiento.
• Curvas: Realiza movimientos lentos y progresivos girando suavemente la muñeca.
• Mantener la presión: Asegúrate de que el pie de la tufting gun esté siempre bien en contacto con la tela para evitar agujeros. -
Se recomienda ajustar la velocidad al mínimo, especialmente al principio, ya que incluso así te parecerá rápida. Una vez que te sientas cómodo/a con la tufting gun, podrás aumentar ligeramente la velocidad, pero sin superar nunca la mitad del ajuste en la rueda de velocidad.
-
El espaciado entre las líneas tuftadas depende del hilo utilizado. Un espaciado demasiado estrecho hará que la alfombra sea demasiado densa, mientras que un espaciado demasiado amplio dejará agujeros visibles. Recomendamos probar diferentes espaciamientos para obtener el resultado deseado.
-
Necesitarás un enhebrador para insertar el hilo en la aguja de la tufting gun.
Pasos:
1. Introduce el enhebrador en la aguja de la tufting gun (de abajo hacia arriba).
2. Pasa el hilo por el extremo del enhebrador.
3. Tira hacia abajo para pasar el hilo. -
- Verifica la tensión del hilo y asegúrate de que no esté bloqueado bajo tus pies o en el marco.
- Asegúrate de que el hilo siga correctamente el recorrido de la aguja.
- Comprueba que la bobina esté bien instalada y que desenrolle el hilo sin resistencia.
-
- Nunca tocar la parte metálica en movimiento.
- No poner los dedos cerca de la aguja.
- Recoge tu cabello y evita llevar joyas.
-
Para garantizar la durabilidad de tu tufting gun, límpiala después de cada sesión de tufting. Retira las fibras de lana atrapadas con la ayuda de un pincel y un bote de aire comprimido. Para más detalles, consulta nuestra guía completa sobre el mantenimiento de la tufting gun.
-
Una tufting gun bien mantenida puede durar varios años. Es importante limpiar regularmente las fibras atrapadas y lubricar las partes móviles.
-
Si el corte se vuelve irregular o si la máquina se engancha en las fibras, es momento de reemplazar la cuchilla para recuperar un corte fluido y preciso.
-
Una bobinadora permite enrollar el hilo de manera uniforme en una bobina, lo que facilita su uso con una tufting gun al evitar nudos y garantizar una tensión regular.